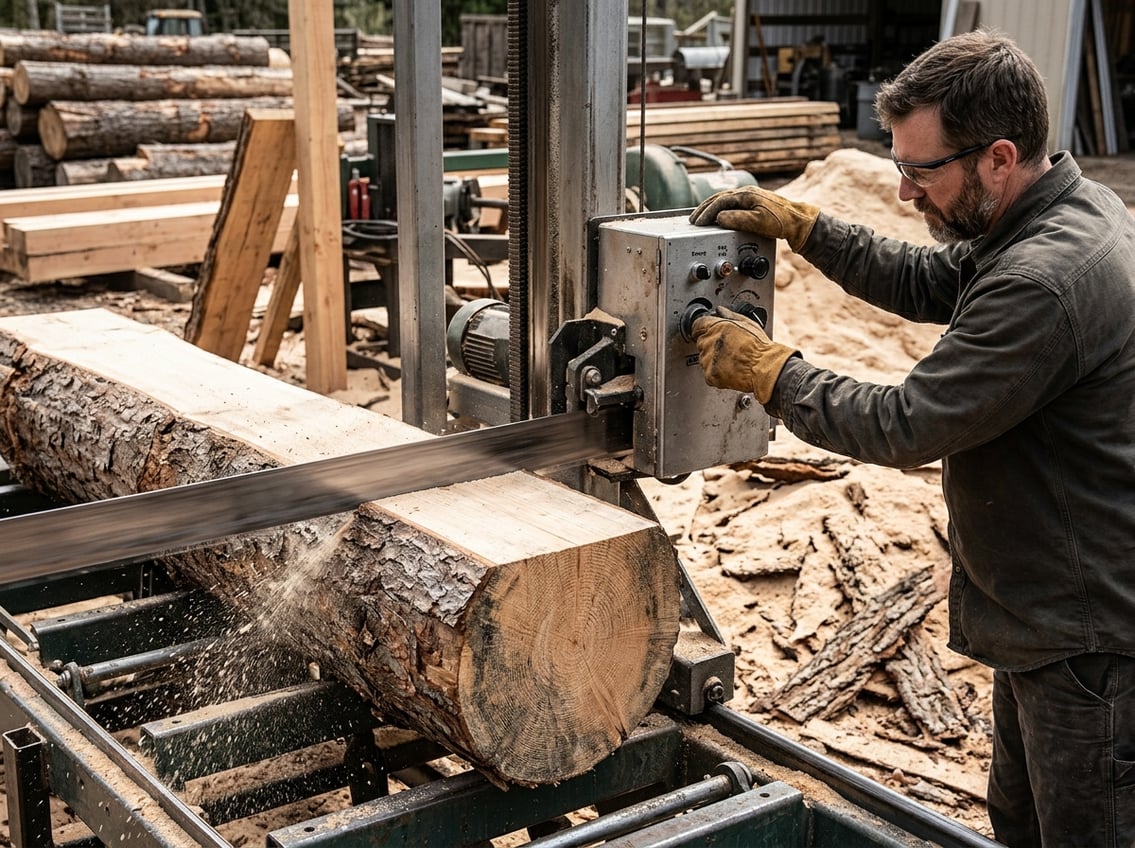
Wavy cuts on a bandsaw mill frustrate operators and waste valuable lumber, but the problem stems from a few identifiable mechanical and operational issues. The most common causes include improper blade tension, incorrect feed speed, misaligned blade guides, and dull or damaged blades. Understanding which factor creates the waves allows for targeted corrections rather than trial-and-error adjustments.
Most operators can resolve wavy cuts by systematically checking their mill setup. Drive belt tension, blade tracking, and guide positioning all affect cut quality. Even experienced sawyers encounter this issue when conditions change or equipment settles over time.
This guide walks through the diagnostic process and provides practical solutions for each potential cause. The methods apply to most bandsaw mill models and require only basic tools and adjustments. Addressing these issues restores clean, straight cuts and improves overall milling efficiency.
Last Updated: June 2026 | Will Montgomery has troubleshot wavy cuts on portable bandsaw mills and shares the systematic checks that actually solve the problem.
Understanding the Root Causes of Wavy Cuts
Wavy cuts on a bandsaw mill stem from mechanical issues, wood characteristics, and operator technique. Each factor contributes differently to cut quality, and identifying the specific cause requires systematic evaluation of the sawmill setup, blade condition, and cutting approach.
Common Mechanical Issues
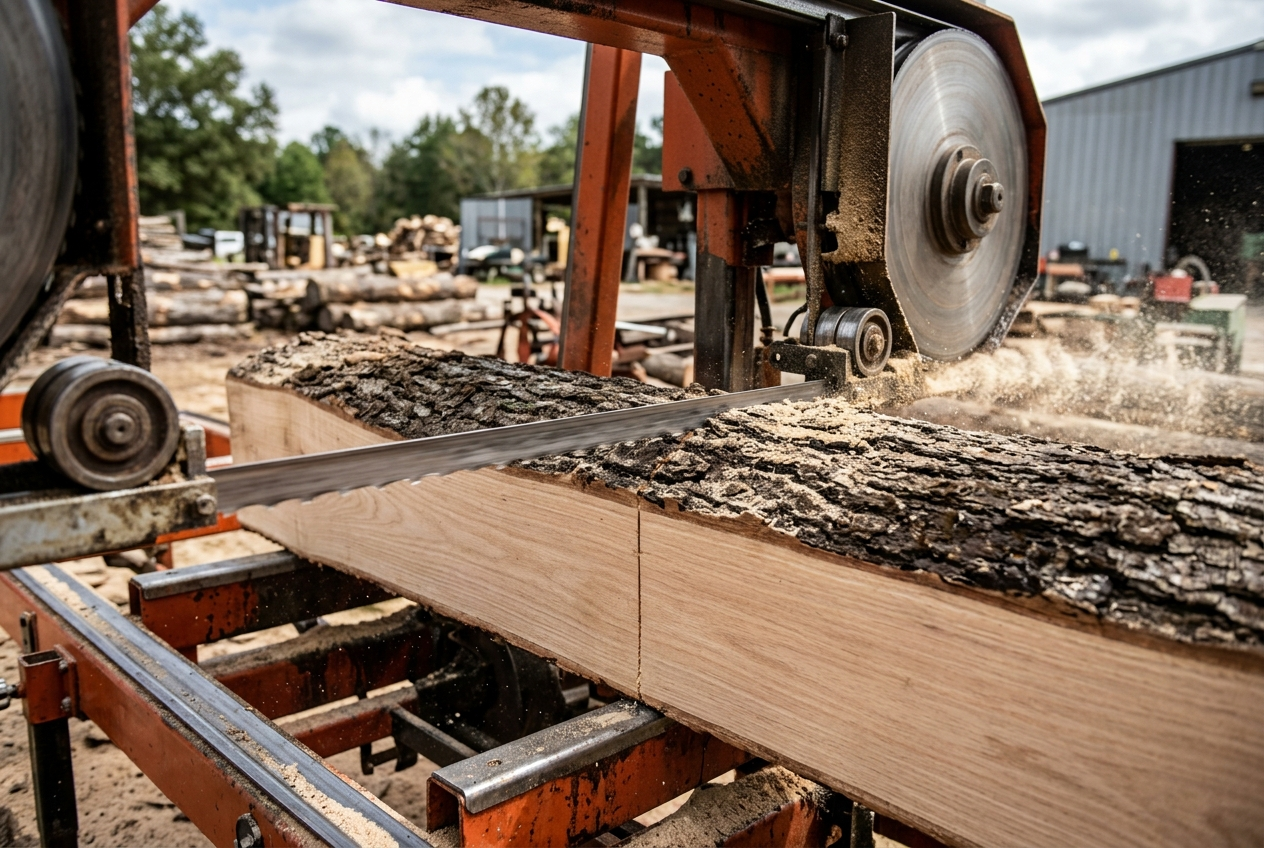
Blade tension stands as one of the most critical mechanical factors affecting cut straightness. Insufficient tension allows the blade to flex and wander during cutting, creating waves in the lumber. Operators should verify tension matches the blade manufacturer’s specifications for the specific blade width and thickness being used.
Blade guide clearance requires precise adjustment to prevent wavy cuts. The guides should maintain 0.020 inches clearance on the sides and 0.040 inches on the back according to standard mill specifications. Excessive clearance permits blade movement, while too little creates friction and heat buildup.
Drive belt tension directly impacts blade performance. A loose drive belt causes inconsistent blade speed and allows the blade to deflect under cutting pressure. Regular inspection and proper tensioning of drive belts prevents power transfer issues that manifest as wavy cuts.
Blade levelness affects the entire cutting plane. An unlevel blade relative to the mill bed causes the saw to cut at an angle, producing waves as the blade tries to follow the uneven path through the log.
Material and Wood Grain Impact
Wood density variations within a single log force the blade to navigate harder and softer areas. The blade naturally deflects toward softer material, creating waves as it passes through growth rings with different densities. Hardwoods with extreme density differences present the greatest challenge.
Frozen or extremely cold wood increases cutting resistance significantly. The blade encounters higher friction and requires more force to advance, leading to deflection and wavy patterns. Green wood with high moisture content cuts more smoothly than dried lumber in most cases.
Grain orientation influences how the blade tracks through the cut. Interlocked or spiral grain patterns push the blade off course, particularly when sawing large diameter logs where grain irregularities span greater distances.
Operator Habits Influence
Feed rate control determines how much force the blade encounters during each pass. Pushing too quickly through the cut, even slightly, causes the blade to bow and create waves. Maintaining a consistent, moderate feed rate allows the blade to cut efficiently without deflection.
Blade maintenance practices affect cut quality over time. Operators who fail to rotate or replace dull blades experience progressively worse wavy cuts as tooth sharpness diminishes. A dull blade requires more force to cut, increasing deflection.
Setup verification between cuts prevents accumulated errors. Skipping routine checks of guide settings, tension, and alignment allows small deviations to compound into significant wave patterns across multiple boards.
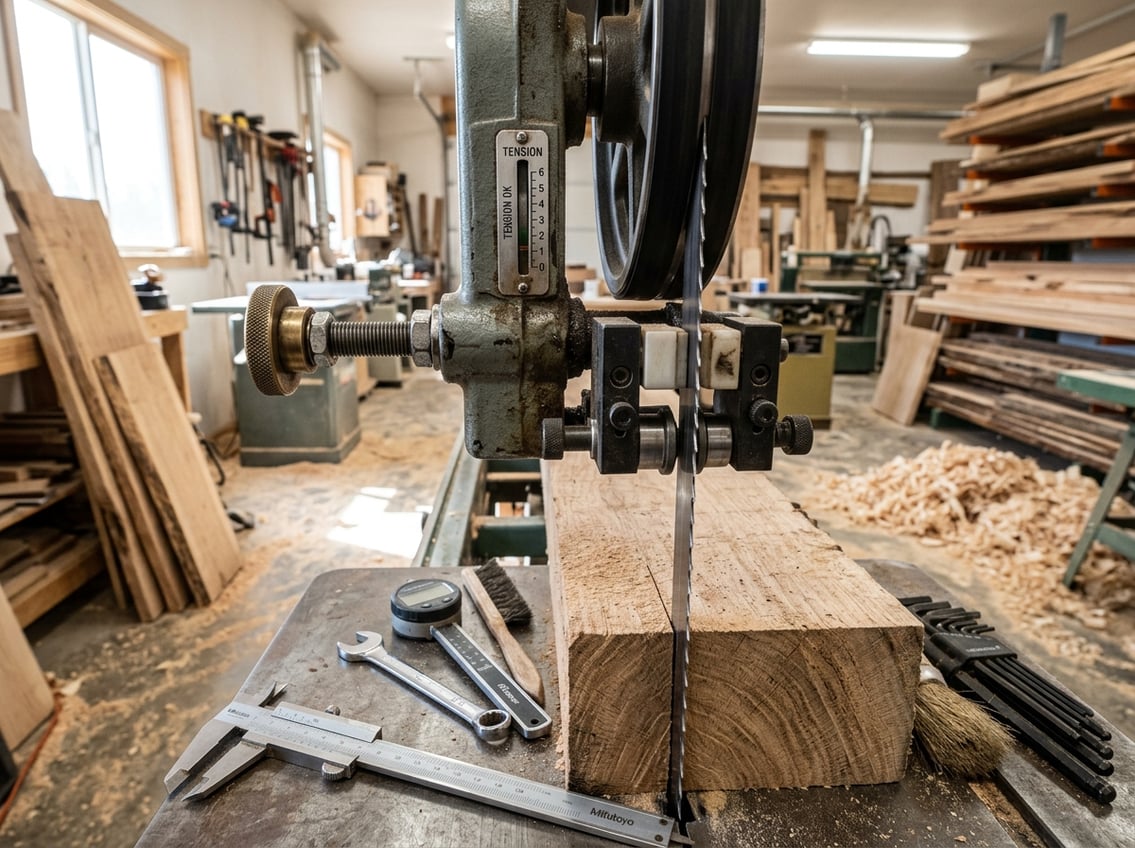
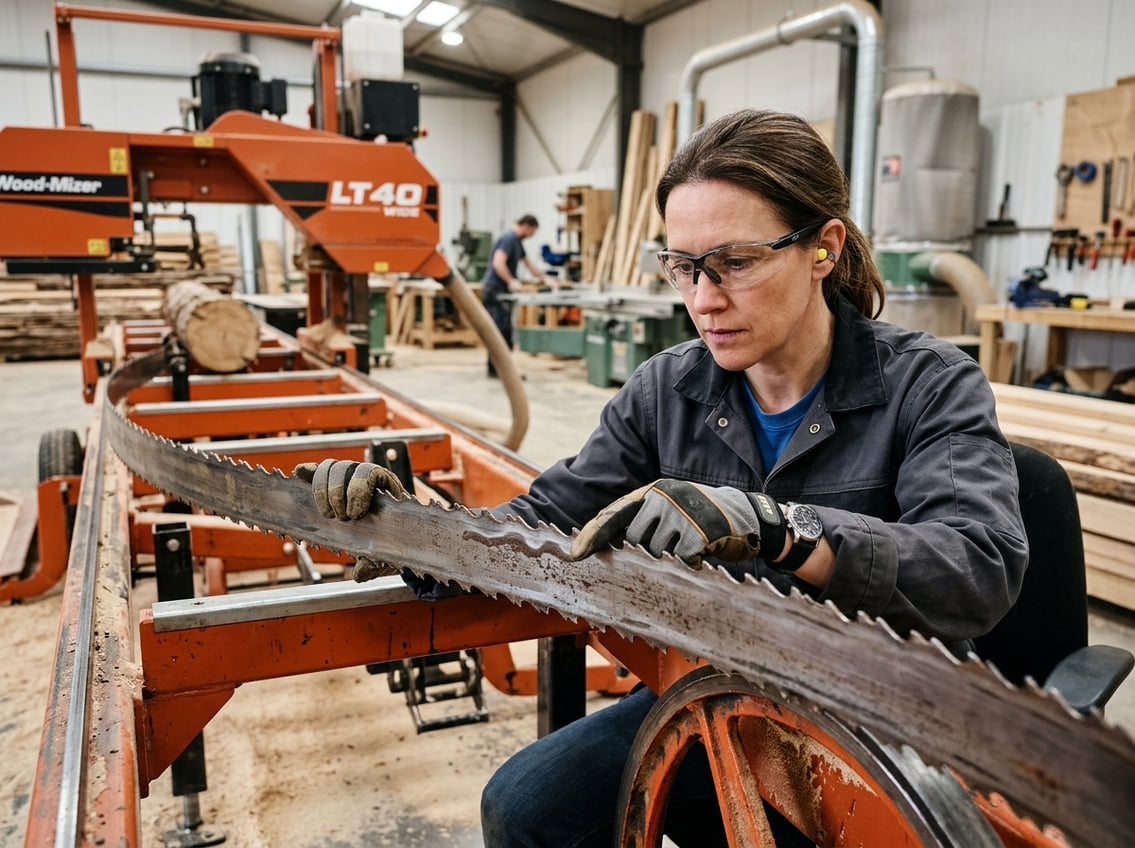
Assessing and Correcting Blade Tension
Blade tension directly affects cut quality on a bandsaw mill, and insufficient or excessive tension causes blades to wander and produce wavy cuts. Regular assessment and proper adjustment keep the blade stable during cutting operations.
Checking Blade Tension Regularly
Operators should check blade tension before each cutting session and whenever they notice decreased cut quality. A properly tensioned blade produces a clear, consistent ring when plucked lightly, similar to a tuned guitar string.
The blade should sit firmly between the upper and lower wheels without excessive deflection. Most bandsaw mills include a tension gauge or scale, but these can lose accuracy over time. Operators can perform a manual check by pressing the side of the blade with moderate thumb pressure at its midpoint between the wheels.
The blade should deflect only slightly, approximately 1/4 inch for most standard mill blades. Excessive movement indicates loose tension, while virtually no movement suggests over-tensioning. Different blade widths require different tension levels—wider blades need more tension than narrow ones.
Adjusting for Optimal Blade Performance
The tensioning mechanism varies by mill model, but most use a hand wheel or hydraulic system on the upper wheel assembly. Operators should make small adjustments and test cuts rather than dramatic changes all at once.
To increase tension, turn the adjustment mechanism clockwise in small increments. After each adjustment, run the mill without cutting to verify the blade tracks properly on the wheels. Over-tensioning damages both the blade and the mill’s bearings.
The blade should maintain consistent tension throughout the cutting session. Temperature changes and prolonged use can affect tension levels, requiring minor readjustments during operation. If a blade requires frequent re-tensioning, inspect the wheels and bearings for wear or misalignment issues that prevent stable blade retention.
Improving Blade Tracking and Drift Correction
Blade drift and tracking issues cause the blade to wander during cuts, resulting in wavy lumber surfaces. Proper tension adjustment, centered blade positioning on the wheels, and systematic drift correction eliminate most cutting inaccuracies on bandsaw mills.
Identifying Blade Drift
Blade drift occurs when the blade naturally pulls to one side during a cut, forcing the operator to angle the material to maintain a straight line. This condition manifests as curved cuts or excessive resistance when feeding logs through the mill.
To test for drift, operators should make a test cut on a piece of scrap lumber without forcing the material in any direction. If the blade pulls left or right, drift is present. The degree of drift can be measured by comparing the entry angle of the wood to the actual cut path.
Common drift indicators include:
- Blade tracking off-center on the wheels
- Uneven wear patterns on one side of the blade
- Burning or scorching on cut surfaces
- Inconsistent cut quality across the board width
Fresh blades sometimes exhibit drift due to manufacturing variations or uneven tooth set. However, persistent drift typically signals underlying mechanical issues with wheel alignment or blade tension.
Implementing Blade Drift Fixes
Blade tension adjustment represents the first correction step for drift problems. Insufficient tension allows the blade to flex and wander, while excessive tension damages the blade and strains wheel bearings.
Most bandsaw mills require tension settings between 18,000 and 25,000 PSI, depending on blade width and mill specifications. Operators should increase tension incrementally using a tension gauge until the blade tracks properly and cuts straight.
Drift correction sequence:
- Replace dull or damaged blades
- Adjust blade tension to manufacturer specifications
- Center the blade on both wheels using tracking adjustment
- Set blade guides with minimal clearance (0.004-0.006 inches)
- Reduce feed rate if drift persists
Tracking adjustments move the blade position on the wheel crowns. The blade should run centered on both wheels with the gullets just forward of the wheel center. Small tracking changes significantly impact cutting performance.
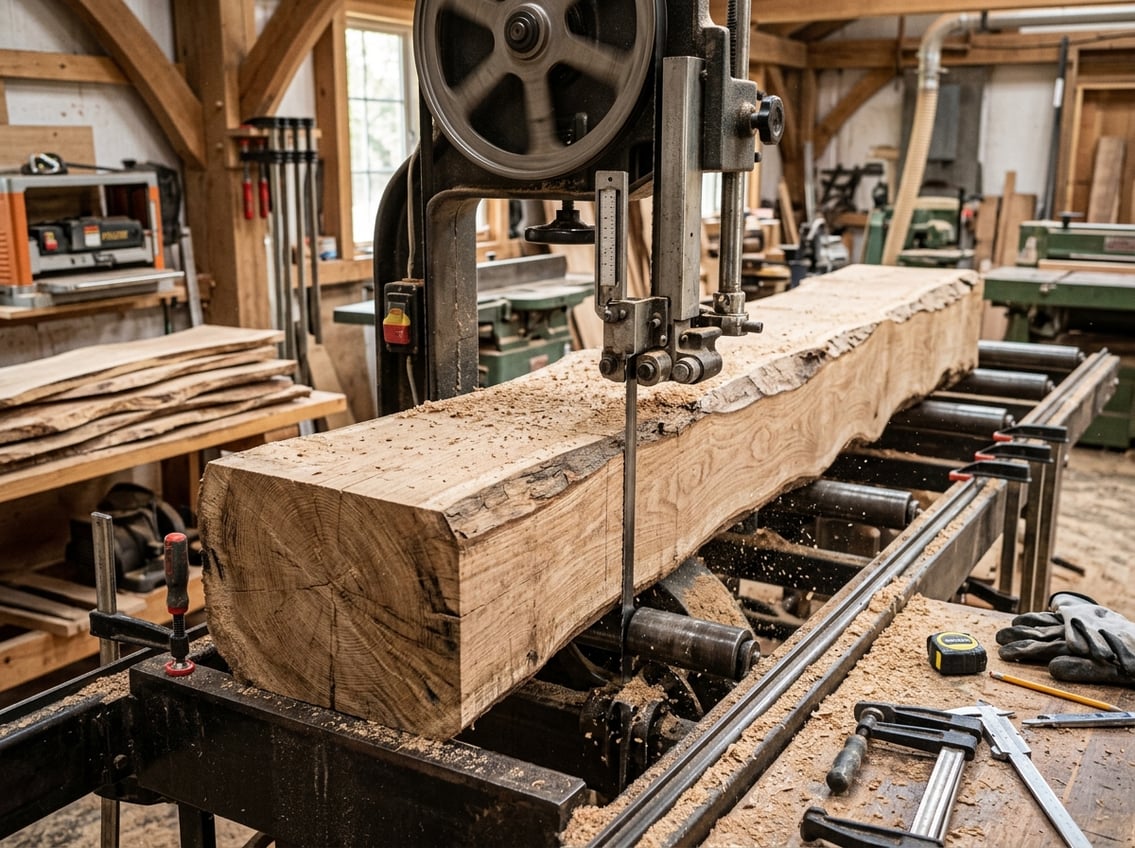
Ensuring Accurate Blade Alignment
Blade guides must support the blade without forcing it laterally. The guide blocks or bearings should sit 0.004 to 0.006 inches from the blade body, providing support during cuts while allowing free movement.
Wheel alignment, called co-planarity, ensures both wheels sit in the same vertical plane. Misaligned wheels force the blade to twist, creating drift and premature wear. A straightedge placed across both wheel faces reveals alignment discrepancies exceeding 0.030 inches.
Guide arm positioning affects blade stability throughout the cutting arc. The guide arm should extend close to the log without restricting blade movement, typically within 1/4 inch of the material surface.
Operators should verify that guide bearings rotate freely without wobble or binding. Worn or damaged guides transfer vibration to the blade, degrading cut quality. Regular guide inspection and replacement maintains consistent blade support during milling operations.
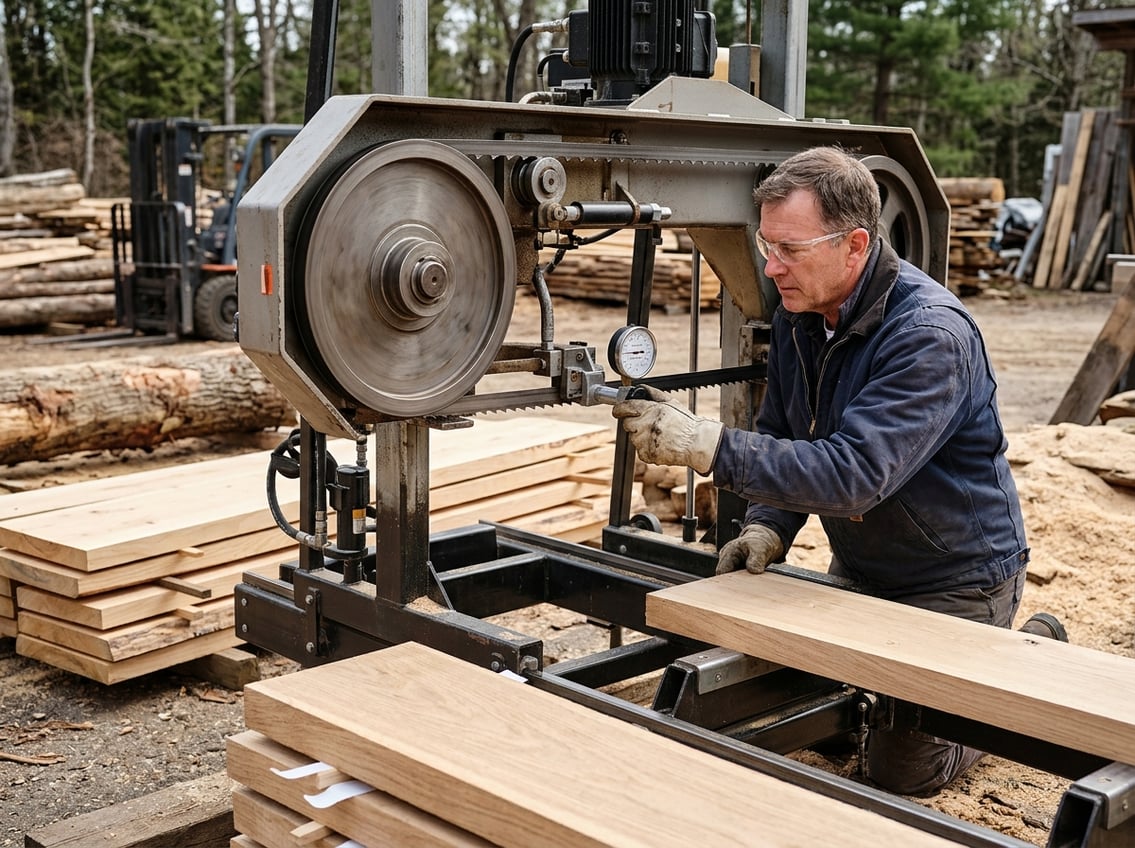
Managing Feed Rate and Cutting Speed
From experience: Hard species are an underrated cause of wavy cuts — a dense log can push the blade around regardless of your setup. Will checks tension before every session and between cuts based on log size, and finds that letting the blade cut at its own pace does more for accuracy than any amount of pushing. A sharp blade is non-negotiable; dull teeth on hardwood is a fight you won’t win.
Feed rate directly impacts cut quality on bandsaw mills, with speeds that are too fast or too slow both producing wavy, irregular cuts. Finding the optimal balance between blade speed and material feed ensures straight boards and extends blade life.
Risks of Feeding Too Fast
When operators push material through a bandsaw mill too quickly, the blade teeth lack sufficient time to remove chips between cuts. This creates excessive resistance that forces the blade to deflect sideways, resulting in wavy patterns across the board surface.
Fast feed rates generate excess heat that accelerates blade dulling. The blade experiences premature wear as teeth struggle to clear sawdust efficiently. Production mills operating at 20-40 feet per minute must match feed speed to blade sharpness and wood density to prevent deflection.
Overspeeding also strains the blade guides and bearings. The cutting edge bows under pressure, creating inconsistent kerf width and rough lumber surfaces. Hard woods and large diameter logs require slower feed rates than softwoods, even with sharp blades.
Adjusting Feed Rate for Clean Cuts
The correct feed rate sits close to the maximum speed the blade can handle for a specific wood type. Operators should reduce speed when cutting dense hardwoods or encountering knots and increase it slightly for straight-grained softwoods.
Visual inspection reveals whether adjustments are needed. Surfaces with a goosebump texture indicate the feed rate is too slow, causing blade teeth to burnish rather than cut. Wavy cuts signal excessive speed that prevents proper chip removal.
Testing different speeds on scrap pieces establishes baseline settings for various species. Start with conservative feed rates and gradually increase until cut quality begins to deteriorate. Most mills achieve optimal results by monitoring blade sound and resistance during operation, adjusting speed when vibration or unusual noise appears.
Optimizing Blade Guide Position and Adjustment

Blade guides are the primary stabilizing component that prevents wavy cuts on a bandsaw mill. Proper positioning of both upper and lower guide assemblies ensures the blade remains stable throughout the cutting process, eliminating the drift and vibration that create uneven surfaces.
Importance of Blade Guide Alignment
Misaligned blade guides are responsible for most bandsaw blade damage and cutting irregularities. When guides are positioned incorrectly, the blade experiences excessive lateral movement during operation, which translates directly into wavy cut patterns on the wood surface.
The blade guide arm must maintain consistent distance from the blade throughout its range of motion. Blade guide rollers or blocks stabilize the blade from both sides and behind, preventing deflection when cutting pressure increases. When these components sit too far from the blade, the operator loses control over blade position.
Guide height adjustment critically affects cut quality. The blade backer should position 0.005 to 0.010 inches from the gullet to prevent blade harmonics that cause wavy cuts. This precise spacing allows the blade to move naturally while maintaining adequate support during the cutting stroke.
Side guides require accurate alignment with both upper and lower assemblies working in concert. Any misalignment between these two guide sets creates opposing forces on the blade, leading to wandering cuts and premature blade wear.
Step-by-Step Guide to Blade Guide Adjustment
Operators should begin by loosening all guide assembly locking mechanisms before making any adjustments. Using the measuring tape and alignment tool supplied with the sawmill ensures consistent positioning across all guide components.
Adjustment sequence:
- Position side guides to allow 0.002-0.003 inches clearance on each side of the blade
- Set the thrust bearing 0.002 inches behind the blade when at rest
- Adjust guide height so the backer sits just above the blade gullet
- Verify upper and lower guides align perfectly with each other
- Tighten all locking mechanisms and test with a practice cut
The operator should check guide positioning after every blade change. Ceramic blade guides reduce blade wander by 40% compared to plastic alternatives, while UHMW side guides with micro-adjustments reduce setup time significantly. Each guide type requires slightly different clearance specifications based on manufacturer recommendations.
Diagnosing and Resolving Blade Wear
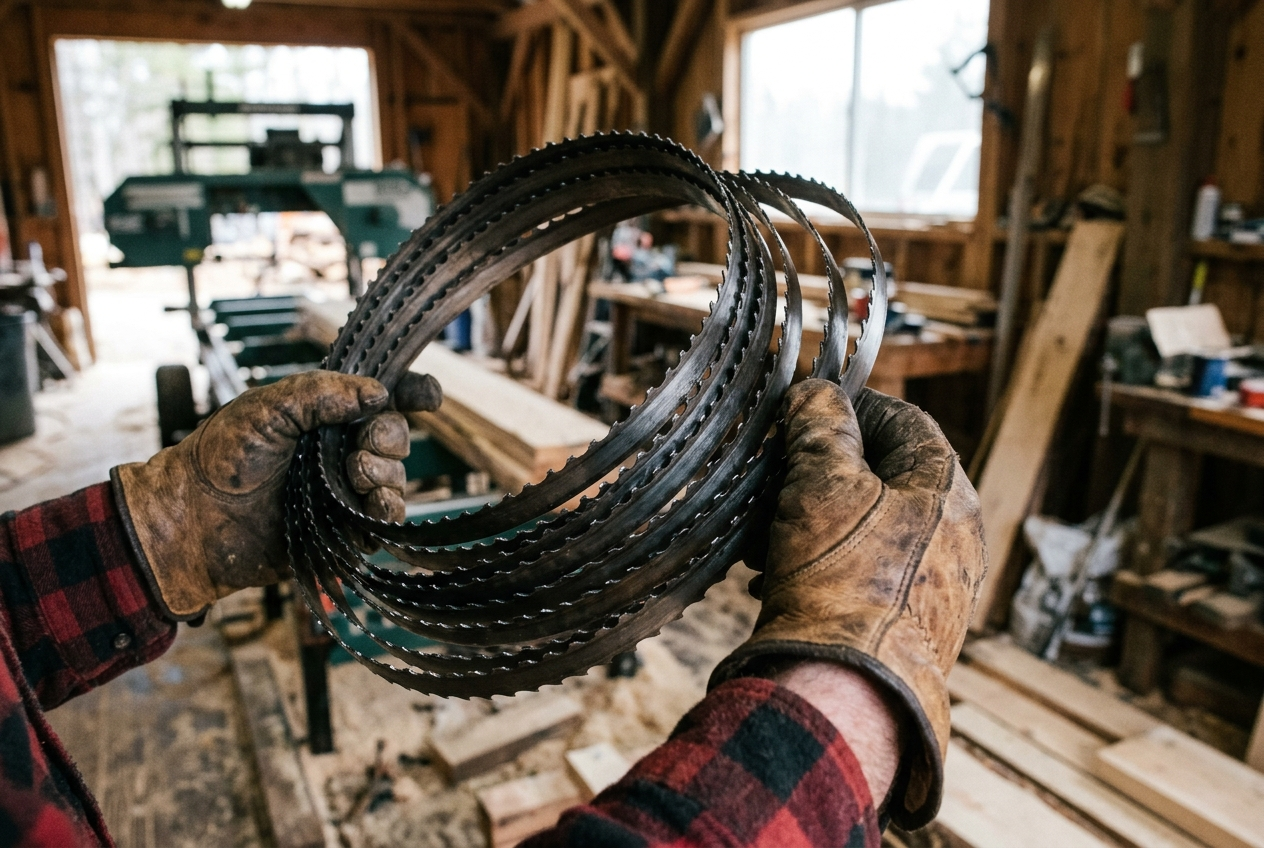
Recommended replacement blades: Sawmill Bandsaw Blades 5-Pack (Wood-Mizer compatible, 10° all-purpose) — stocking spare blades is the single fastest way to eliminate wavy cuts caused by dull or stretched blade wire.
Blade wear directly impacts cut quality and creates wavy surfaces that ruin lumber quality. Recognizing wear patterns early and knowing replacement intervals prevents production losses and material waste.
Signs of a Worn Blade
A worn blade produces several telltale indicators during operation. The most obvious sign is a noticeable decrease in cutting speed, requiring more pressure to push material through the cut. Operators will hear changes in the cutting sound, often a higher-pitched whine or irregular chattering.
Visual inspection reveals specific wear patterns on the tooth profile. Dull teeth appear rounded or shiny at the tips rather than sharp and defined. Uneven tooth height across the blade length indicates accelerated wear in specific sections.
The cut surface itself provides clear evidence of blade condition. Fresh lumber shows smooth, consistent mill marks, while worn blades leave rough, inconsistent surfaces with visible ridges or valleys. Wavy cuts that weren’t present with a fresh blade signal advanced wear stages.
Sawdust characteristics change as blades deteriorate. Fine powder instead of chips indicates the blade is burning through material rather than cutting cleanly. Discoloration or burn marks on the lumber confirm excessive friction from dulled teeth.
When to Replace or Sharpen Blades
Most bandsaw mill blades benefit from sharpening every 2-4 hours of cutting time, though hardwoods accelerate wear compared to softwoods. Operators should track cutting hours and board footage to establish consistent maintenance schedules.
Blades require replacement rather than sharpening when tooth height drops below 50% of original specifications. Cracks at the gullet base, stretched blade bodies, or broken teeth also mandate immediate replacement regardless of cutting time.
Professional sharpening services typically cost $15-30 per blade and restore proper tooth geometry. DIY sharpening with proper equipment works for experienced operators but requires precision files or automated sharpeners. Each blade tolerates 8-12 sharpenings before metallurgical fatigue necessitates retirement.
Best Practices for Bandsaw Mill Setup
Proper bandsaw mill setup involves establishing correct blade tension and alignment from the start, then maintaining these settings through regular inspections and adjustments. These fundamentals directly affect cut quality and blade longevity.
Initial Setup Tips
Blade tension serves as the foundation for all other adjustments. Operators should tension the blade according to the manufacturer’s specifications, typically using the built-in tension gauge or scale. Under-tensioned blades wander and flex during cuts, producing wavy results.
The blade must run level and parallel to the mill bed. Using a precision level, operators should check that the blade sits flat without tilting to either side. Misaligned blade guides often push the blade out of level, so each guide block requires individual inspection and adjustment.
Guide spacing affects blade stability significantly. The guides should sit close to the blade without making constant contact—typically within 0.005 to 0.010 inches. Guides set too far away allow blade deflection, while guides that press too hard create excessive friction and heat.
Wheel alignment requires verification before making the first cut. Both wheels must sit in the same plane, rotating without wobble. Operators can check alignment by placing a straightedge across both wheel faces.
Routine Maintenance Guidelines
Daily inspections prevent small issues from becoming major problems. Before starting work, operators should check blade tension, guide positioning, and wheel cleanliness. Sawdust buildup on wheels affects tracking and causes premature blade wear.
Blade guides wear gradually and need replacement based on usage patterns. Ceramic and carbide guides last longer than phenolic types but still require monitoring. Worn guides create gaps that allow blade movement and produce wavy cuts.
The following maintenance schedule keeps mills operating efficiently:
- Daily: Clean wheels, check tension, inspect guides
- Weekly: Verify blade tracking, examine guide blocks for wear
- Monthly: Check wheel bearings, inspect hydraulic systems
- Quarterly: Complete alignment verification, replace worn components
Lubrication systems need regular attention to function properly. Water-based lubricants reduce friction and heat during cutting, extending blade life by 20-30%. Operators should monitor lubricant flow rate and adjust nozzle positions to ensure coverage across the entire cut width.
Preventative Measures and Long-Term Solutions
Consistent maintenance and systematic monitoring form the foundation for eliminating wavy cuts permanently. Operators who implement structured schedules and track performance metrics achieve significantly better cutting accuracy over time.
Regular Maintenance Schedules
Daily cleaning removes swarf and chips that accumulate during operation and cause blade drift. Operators should clear debris from blade guides, wheel housings, and the cutting area after each work session.
Weekly blade tension checks prevent gradual loosening that leads to wavy cuts. The tension should match manufacturer specifications for the blade width and thickness being used. Guide alignment requires inspection every seven days, as vibration from heavy logs gradually shifts guide positions out of specification.
Monthly lubrication of moving parts ensures smooth operation and reduces wear. Wheel bearings, guide assemblies, and adjustment mechanisms need proper lubrication according to equipment specifications. Operators should also inspect blade wheels for buildup and clean them thoroughly to maintain proper blade tracking.
Critical Maintenance Tasks:
- Clean guides and wheels daily
- Check blade tension weekly
- Verify guide clearances at 0.020″ front and 0.040″ back
- Inspect roller conveyors for support alignment
- Replace worn guide bearings before they damage blades
Ongoing Monitoring and Adjustments
Operators should track blade performance across multiple cuts to identify degradation patterns early. Recording the number of board feet cut per blade helps establish replacement intervals before cutting quality deteriorates.
Test cuts on scrap logs reveal developing issues before they affect production lumber. A quick pass through a small log at the start of each session confirms blade alignment and guide positioning remain correct.
Temperature changes affect blade tension, requiring adjustments between seasons or during significant weather shifts. Metal expansion and contraction alter tension enough to impact cut quality in precision applications.
Blade rotation extends service life and maintains consistent performance. Moving blades to different positions on the wheel or flipping them prevents uneven wear patterns that contribute to wavy cutting over time.