
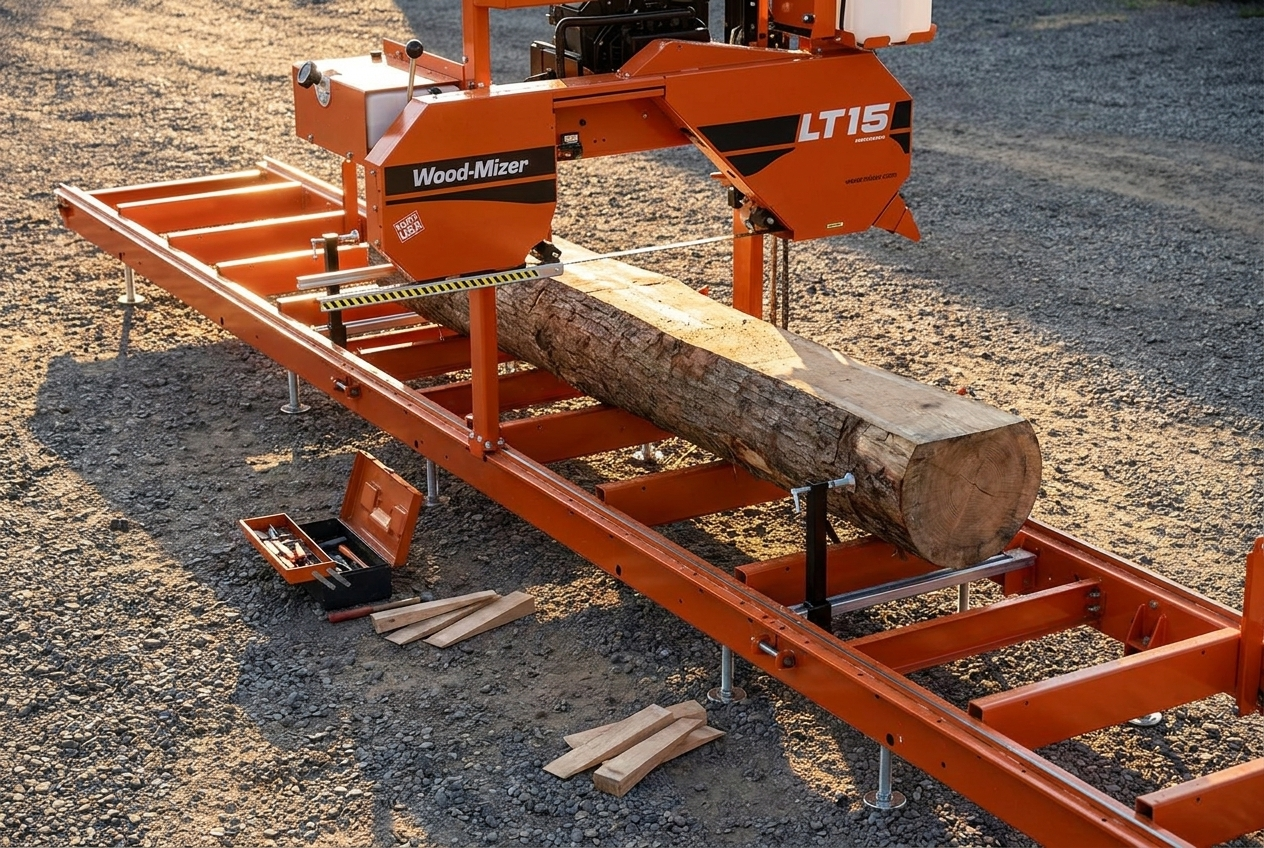
Quick Answer: Running a bandsaw mill well comes down to a repeatable sequence: set up dead level on firm ground, prep and clean every log, clamp low and solid, open the log to find the best grade, saw to a cut list instead of improvising, and sticker the lumber the same day you saw it. Master that loop and board quality takes care of itself — skip any step and the mill will collect the tax somewhere downstream.
A bandsaw mill cuts logs with a narrow, continuous band blade riding on two wheels — its thin kerf of roughly 1/16 inch is why it yields more lumber from the same log than a circular mill.
Every new mill owner makes the same discovery we made with our Wood-Mizer LT15 years ago: the machine is the easy part. Learning to operate a bandsaw mill — really operate it, from site setup through the final cut — is a craft the manual barely mentions. After a decade of milling upper-Midwest hardwoods, this is the handbook I’d hand any new operator: the complete workflow we run every sawing day, the decisions that actually determine lumber quality, and the habits that keep the day safe and profitable.
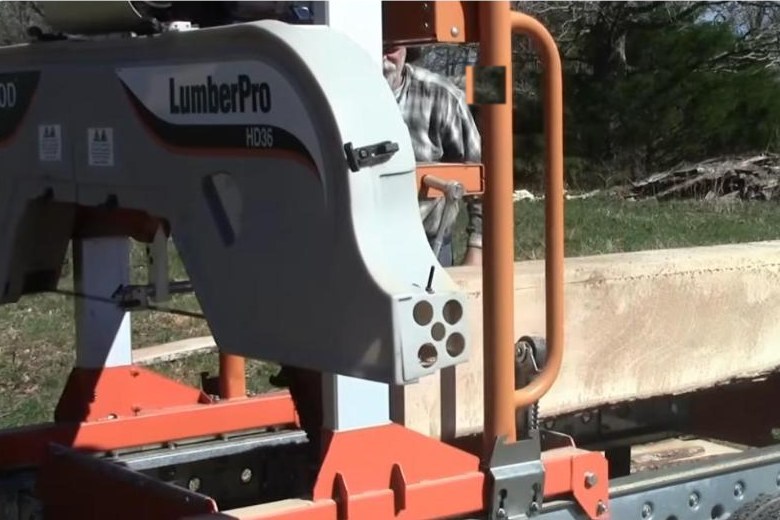
Last Updated: August 2026 | Jason Lewis has run this exact nine-step loop on a Wood-Mizer LT15 through a decade of upper-Midwest hardwood sawing days.
The Operator’s Loop at a Glance
Here’s the whole job in nine steps — each one gets its own section below:
- Set up the mill level, firm, and clear
- Stage and inspect logs before they touch the deck
- Load and clamp the log low and tight
- Make opening cuts to read the log
- Saw to a cut list matched to the log’s grade
- Manage the blade — sharp, tensioned, lubed
- Offload and grade boards as they come off
- Stack and sticker the same day
- Shut down with an end-of-day routine
Step 1: Site Setup — Level Is Everything
A bandsaw mill saws parallel to its own track, so if the track twists, your lumber twists with it. Set up on the firmest, most level ground available, use every leveling foot, and check the track with a level along its length and across the bunks — then recheck after the first few logs, because mills settle. Leave yourself working room: log staging on one side, lumber offload on the other, and enough clearance to walk the full carriage path without stepping over anything. First setup takes hours; a practiced routine takes under one — our timing breakdown in how long it takes to set up a portable bandsaw mill covers what to expect at each experience level.
From experience: after ten years I still catch myself thinking the mill is level and ready when it isn’t. Ground can seem solid until a loader and log weight start rolling around on it — or you set up on frozen ground and the thaw kicks in. Keep checking until you know you’re truly solid.
Step 2: Log Prep — Where Blade Life Is Won
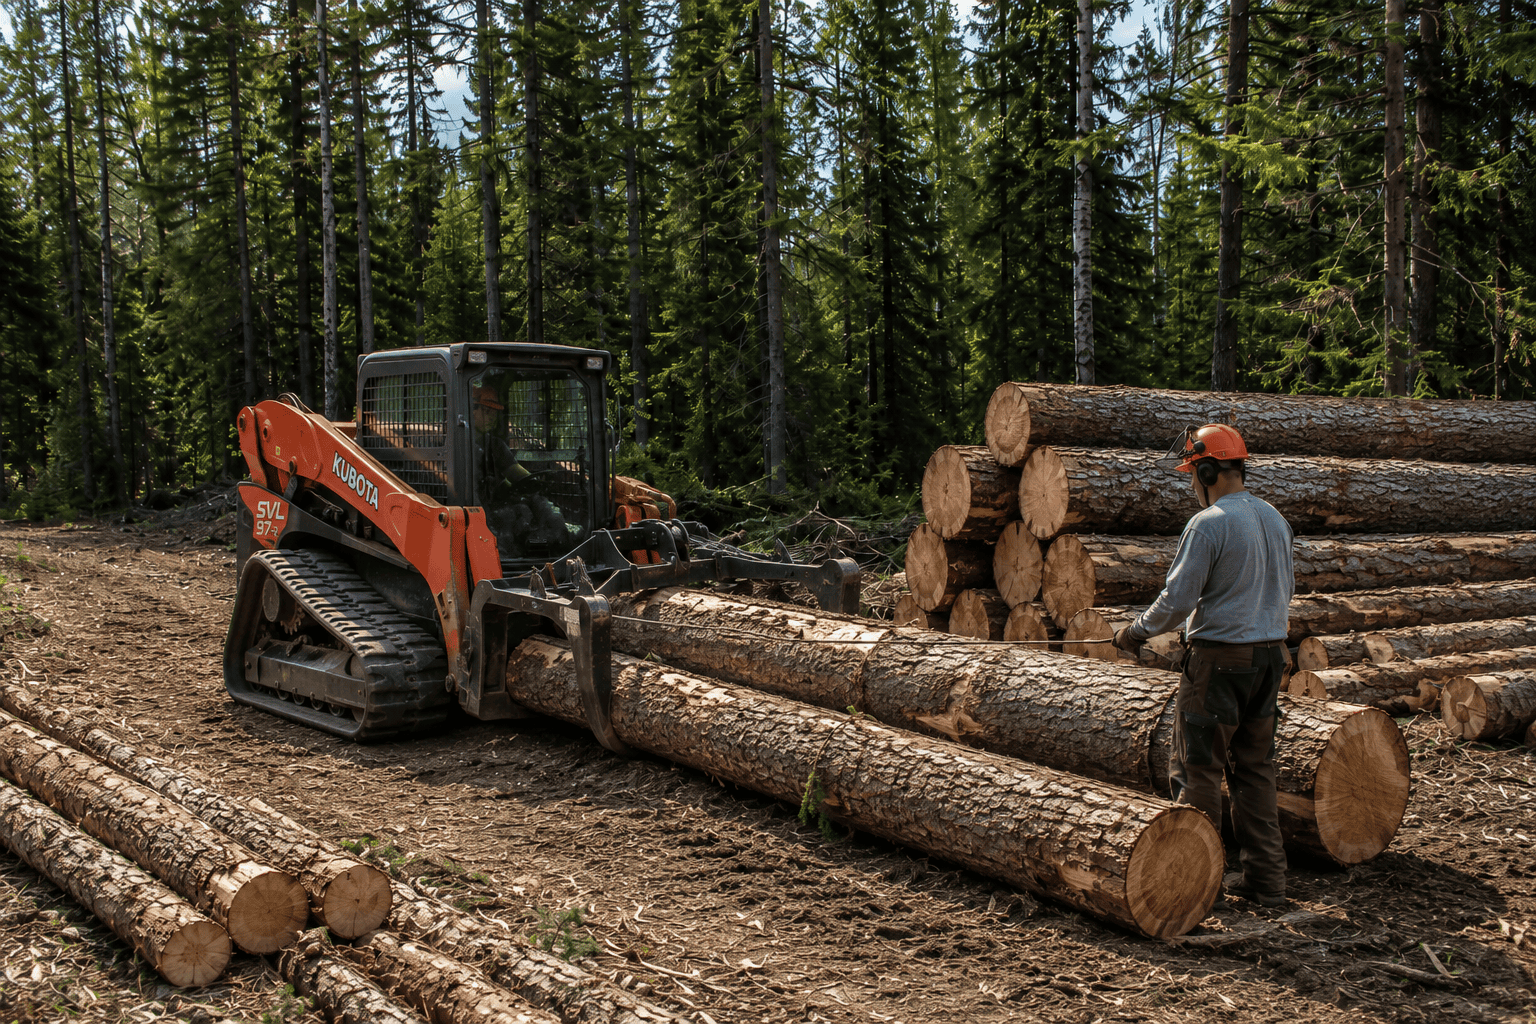
Dirt dulls more blades than wood ever will. Before a log reaches the mill: knock off mud and gravel (a pressure washer or a debarking pass on the entry side pays for itself), scan yard trees with a metal detector — fence wire, nails, and clothesline hooks live in yard logs — and trim any limb stubs that will fight the clamps. While you’re at it, size up each log honestly: sweep, taper, rot, and splits determine what the log can give you before the first cut is ever made. Knowing the board-foot yield ahead of time keeps you from wasting saw time on firewood-grade logs; run them through our board foot calculator if you’re estimating a pile.
Step 3: Loading and Clamping
Load with ramps and a cant hook (ours is a 60″ aluminum LogRite that grips 10″ to 36″ logs, which covers anything a bandsaw mill bed will hold — it is on Amazon here if you want to see what it runs) (or toe boards and winch if your mill has them), heavy end handled first, and never put any part of yourself downhill of a moving log. Clamp philosophy: low and tight. Clamps and log rests must sit below your final cut height, and the log should not rock at all — a log that shifts mid-cut ruins the board and can pinch the blade. Big-taper logs get shimmed or toe-boarded so the core of the log runs parallel to the track: you want the pith centered in the cant, not diving through your boards.
Step 4: Opening the Log
The first cut is a scouting mission. Open the widest clear face — the side with the fewest knots and best surface — take a slab, and read what the log shows you: clear wood depth, stain, hidden defect. Grade sawyers rotate the log to keep sawing the best available face as it develops; production sawyers square a cant and gang-saw it through. For most portable-mill work a hybrid works fine: take the best boards off the two cleanest faces, square the cant, then saw through. If you’re new to reading logs, sacrifice a couple of low-value logs to experimentation — cheapest education in sawmilling.
Step 5: Saw to a Cut List
The most profitable habit in this handbook: decide what you’re cutting before the log is on the mill. Random sawing produces a pile of random lumber nobody ordered. Whether it’s 4/4 boards for the kiln, 6×6 timbers, or 8/4 slabs, a cut list controls every decision — opening face, cant size, and where the low-grade center wood goes. Remember kerf and shrinkage: green lumber is sawn oversize (a "4/4" board is sawn at a full inch-plus) so it finishes to dimension after drying. Your scale display’s preset increments handle the kerf math for you — trust them instead of chasing pencil marks.
Step 6: Blade Management During the Day
Sharp, tensioned, and lubed — the three-word blade sermon. Swap blades at the first powdery sawdust or slowed feed (roughly every 1.5–2 cutting hours), keep water/lube flowing to control pitch buildup, and listen to the engine: bogging in a straight cut means feed too fast or blade too dull. The full chapter on this — hook angles by species, sharpening economics, tension habits — is in our bandsaw mill blade guide, and if your boards are already coming off wavy, go straight to how to fix wavy cuts.
Step 7: Offloading and Grading as You Go
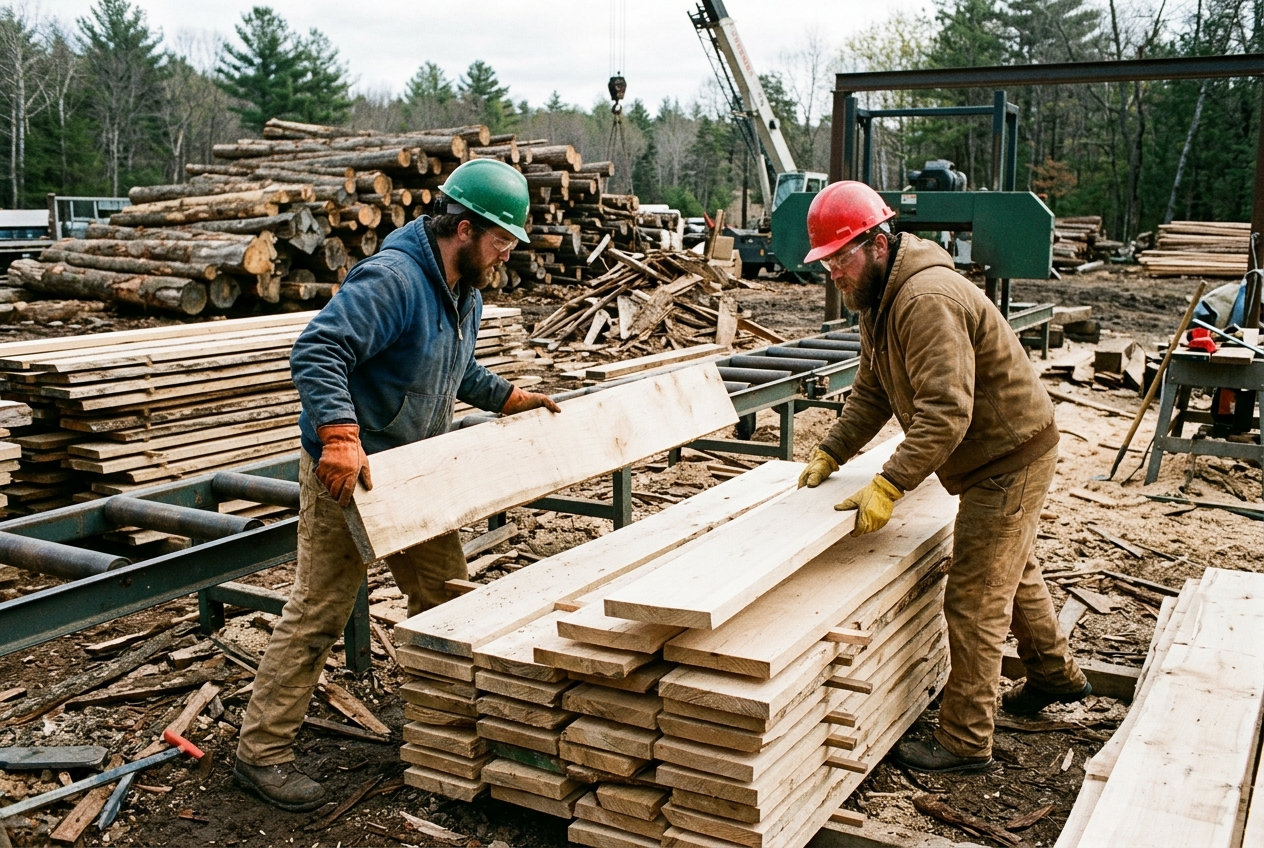
Sort at the mill, not at the stack. As each board comes off, it gets a verdict: grade lumber, structural, rustic/character, or slabwood. Sorting later means handling every board twice — and a helper on the offload side nearly doubles daily production on a manual mill, which is worth remembering when a neighbor offers to trade labor for lumber.
Step 8: Stack and Sticker the Same Day
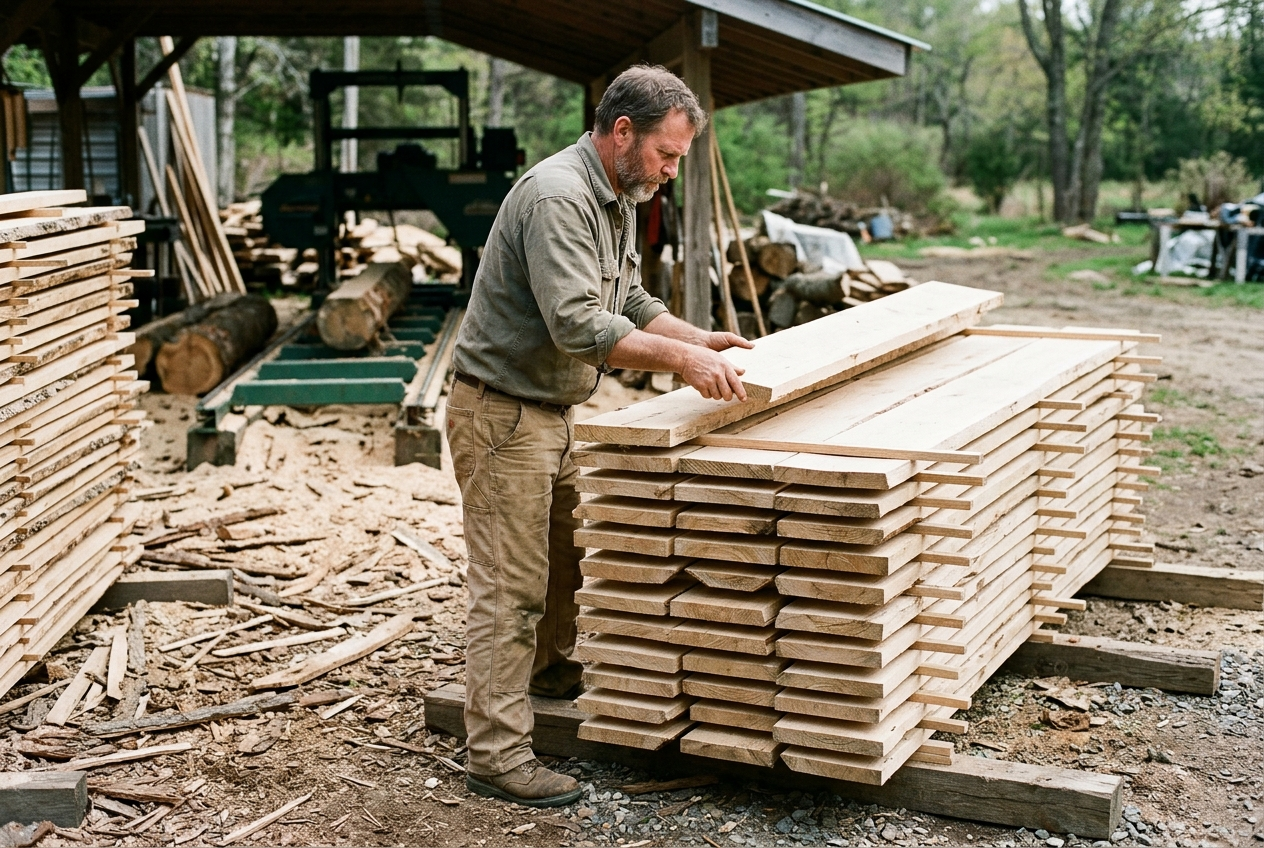
Green lumber starts moving within hours. Same-day stickering is the rule at our mill: dry stickers (¾" is standard) on 16–24" centers, aligned vertically over solid bunks, on level ground with air space, topped with a cover board and real weight. A perfectly sawn stack ruined by lazy stickering is the most preventable loss in this business — the drying stack is where lumber value is protected or thrown away.
Step 9: The Shutdown Routine
Five minutes that add years to the mill: de-tension the blade, brush off sawdust packs (around the bandwheels especially), drain or top the lube tank by season, check fuel and oil for the next session, and coil-and-tag any blade that came off. Cover the sawhead if the mill lives outside. Walk the site last — offcuts and slabs underfoot are tomorrow’s rolled ankle, and mill housekeeping is safety work as much as our sawmill safety guide is.
Daily Operating Reference
| Phase | Key Check | Cost of Skipping It |
|---|---|---|
| Setup | Track level, bunks coplanar, rechecked after settling | Twisted, inconsistent lumber all day |
| Log prep | Clean bark path, metal scan on yard trees | Dead blades, possible tooth strike |
| Clamping | Low, tight, no rock; clamps below final cut height | Ruined boards, pinched blade |
| Sawing | Cut list decided; scale increments used | Random lumber, wasted grade wood |
| Blade | Swap at first dulling sign; lube flowing | Wavy cuts, slow feed, fuzzy boards |
| Stacking | Stickered same day, aligned, weighted | Warp, stain, degraded value |
| Shutdown | De-tension, clean, tag blades | Shortened blade, belt, and bearing life |
Frequently Asked Questions
How hard is it to learn to run a bandsaw mill?
Most operators saw acceptable lumber their first weekend and good lumber within 20–30 logs. The machine skills come fast; the judgment — reading logs, choosing cut lists, blade discipline — builds over a season. Sacrificing a few cheap logs to practice accelerates everything.
Do I need a helper to run a portable sawmill?
No, but it changes the math. A solo operator on a manual mill spends over half the day handling wood, not sawing. A second set of hands on offloading and stacking can nearly double daily production, which is why trading lumber for labor is such a common arrangement.
What’s the biggest mistake new sawmill operators make?
Sawing without a cut list, with skipping log prep a close second. Random sawing produces lumber nobody needs, and dirty logs kill blades that then cut wavy boards. Both mistakes are free to fix and pay from the first log.
How level does a bandsaw mill need to be?
The track needs to be flat and untwisted more than perfectly level to the earth — the blade cuts parallel to the track regardless. Use every leveling foot to remove twist, confirm the bunks sit in one plane, and recheck after the first few heavy logs settle the setup.
When should lumber be stickered?
The same day it’s sawn. Green boards begin drying — and moving — within hours, especially in warm weather. Stickers on 16–24" centers, aligned vertically over solid supports, with the stack weighted on top, protect everything the saw day earned.
The Bottom Line
Good sawmilling is a loop, not a trick: level setup, clean logs, tight clamping, a plan for every log, a sharp blade, and same-day stickering. Run that loop every sawing day and the quality takes care of itself. If you’re still choosing your machine, our complete guide to portable sawmills matches mill classes to workloads — and once you’re cutting, every guide in this cluster hangs off the workflow you just read.