
Sharpen a bandsaw mill blade every 2 to 4 hours of actual cutting time by grinding the face and gullet of every tooth to a consistent hook angle — 7° for frozen wood or hard hardwoods, 10° for general use, 14° for softwoods — removing only a few thousandths of an inch per pass, then resetting the teeth every second or third sharpening. A blade will usually take 5 to 8 resharpenings before it’s done. Do it yourself and the cost per blade is basically nothing once you own the equipment; send it out and you’re looking at $6 to $8 a blade plus however long the mail takes.
I run a Wood-Mizer LT15 on mixed hardwoods here in the upper Midwest — oak, maple, walnut, the occasional stubborn piece of elm — and blade sharpening is the one maintenance job that separates guys who keep their mill running from guys who are constantly buying new blades. It’s not hard. It’s just fussy, and if you skip steps you end up with a blade that looks sharp and cuts like garbage.
Bandsaw mill blade sharpening is the process of regrinding the face, gullet, and back of every tooth on a bandsaw blade back to its correct hook angle — done every 2 to 4 hours of cutting so the blade keeps tracking straight and cutting clean instead of wandering through the log.
Last Updated: September 2026 | Jason Lewis has ten-plus years running a Wood-Mizer LT15 on upper-Midwest hardwoods.
DIY vs. Sending Blades Out — What Actually Makes Sense
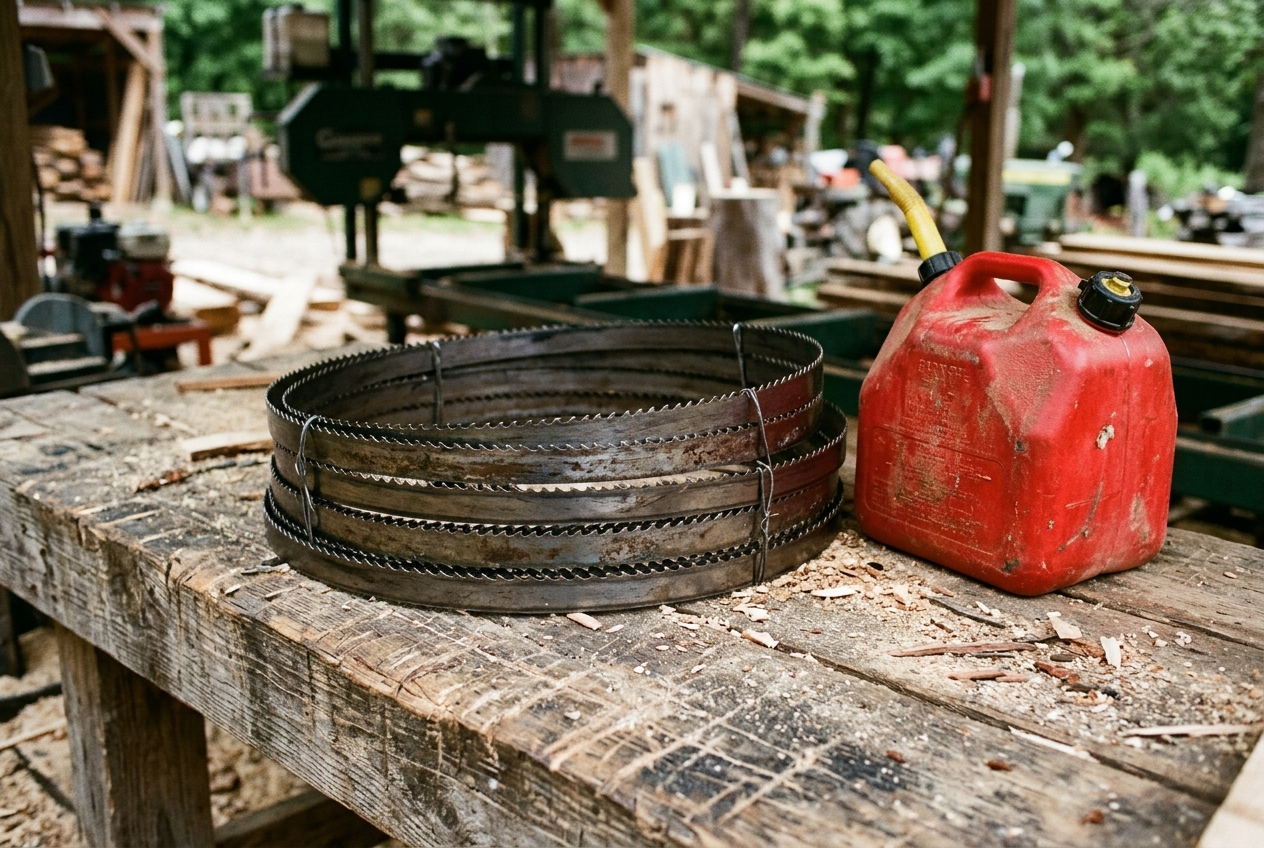
If you’re only running your mill a weekend or two a month, sending blades out is probably the better deal. If you’re cutting regularly — even a few hours a week — owning a sharpener pays for itself fast, and you stop losing production time waiting on the mail.
| Factor | DIY Sharpening | Send-Out Service |
|---|---|---|
| Cost per blade | Near $0 after equipment pays off | $6–$8, plus shipping both ways |
| Turnaround | Same day, whenever you want | Days to a couple weeks round trip |
| Equipment cost | $0 (hand grind) to $1,000+ (automatic sharpener) | None |
| Quality control | You control it — and you learn from every mistake | Consistent, factory-level result |
| Best for | Anyone sawing regularly, or running a side business | Occasional/hobby sawyers, or anyone without shop space |
I hand-ground blades for my first year with the LT15 before I bought a proper sharpener, and honestly, that year taught me more about how a tooth actually cuts than anything I’ve read since. If you’re just getting started, don’t be afraid to do it the cheap way first.
Signs Your Blade Actually Needs Sharpening
A dull blade shows up as shiny, rounded tooth tips instead of a crisp point, sawdust that comes off as fine powder instead of clean chips, and cuts that start to wander or wave. If your mill is already cutting wavy, sharpening might not fix it by itself — check tension and feed rate too; we cover that whole diagnostic process in How to Fix Wavy Cuts on a Bandsaw Mill and in Bandsaw Mill Troubleshooting: 10 Common Problems and Fixes.
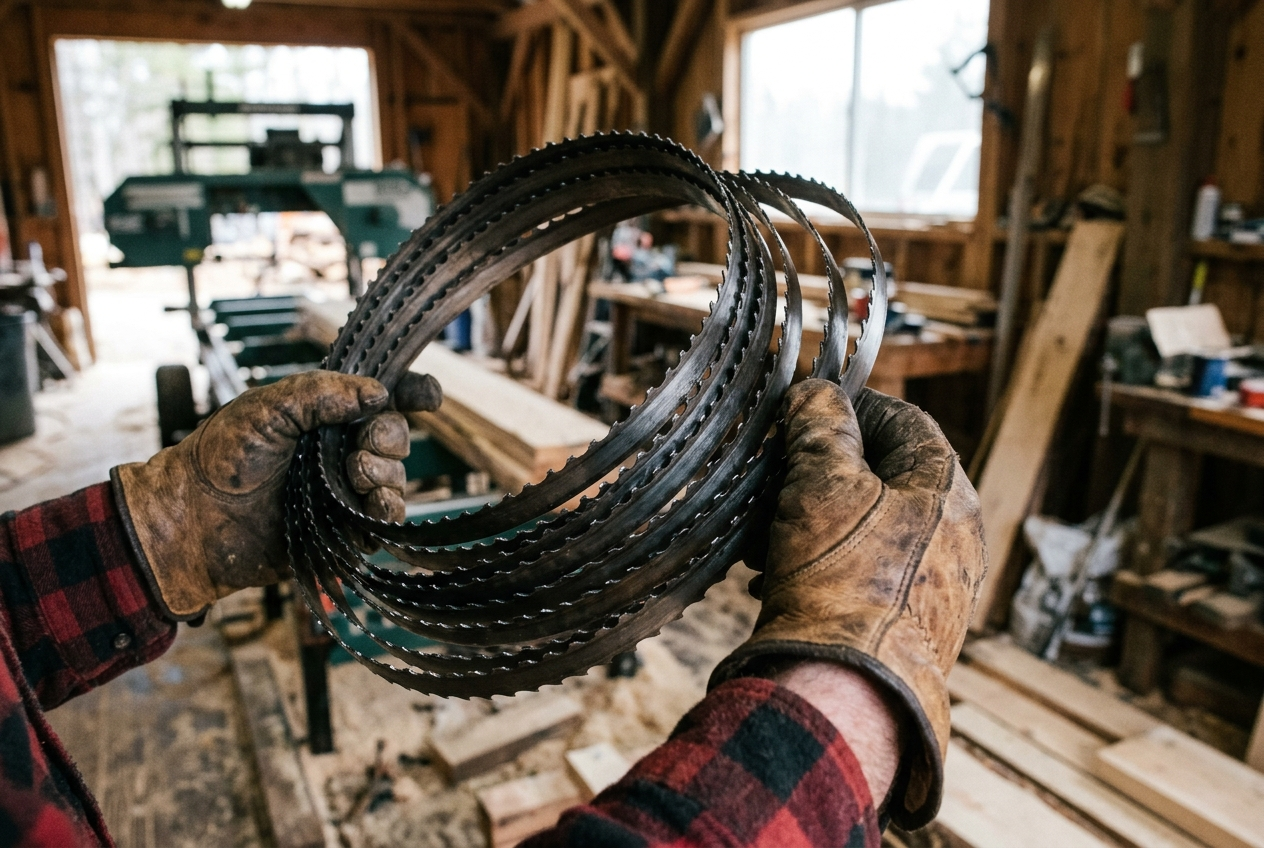
Run your thumb (carefully, or better, a gloved finger) along a few teeth. A sharp tooth has a clean edge you can feel catch. A dull one feels rounded, almost polished. That’s your cue.
What You Need to Sharpen at Home
You don’t need to start with a $1,000+ automatic sharpener. There are three real tiers here:
- Hand-grind, budget tier: A rotary tool with the right stone and a steady hand. This is what I started with — a Dremel with grinding stones, freehand on each tooth face. It’s slow, maybe 3 to 5 minutes a blade once you get the motion down, but it costs almost nothing and it’s how a lot of small operators learn what “sharp” actually looks like under a grinder.
- Manual bench sharpener: A dedicated bandsaw blade grinder you run the blade through by hand, one tooth at a time. Faster and more consistent than a rotary tool, still requires your attention the whole time.
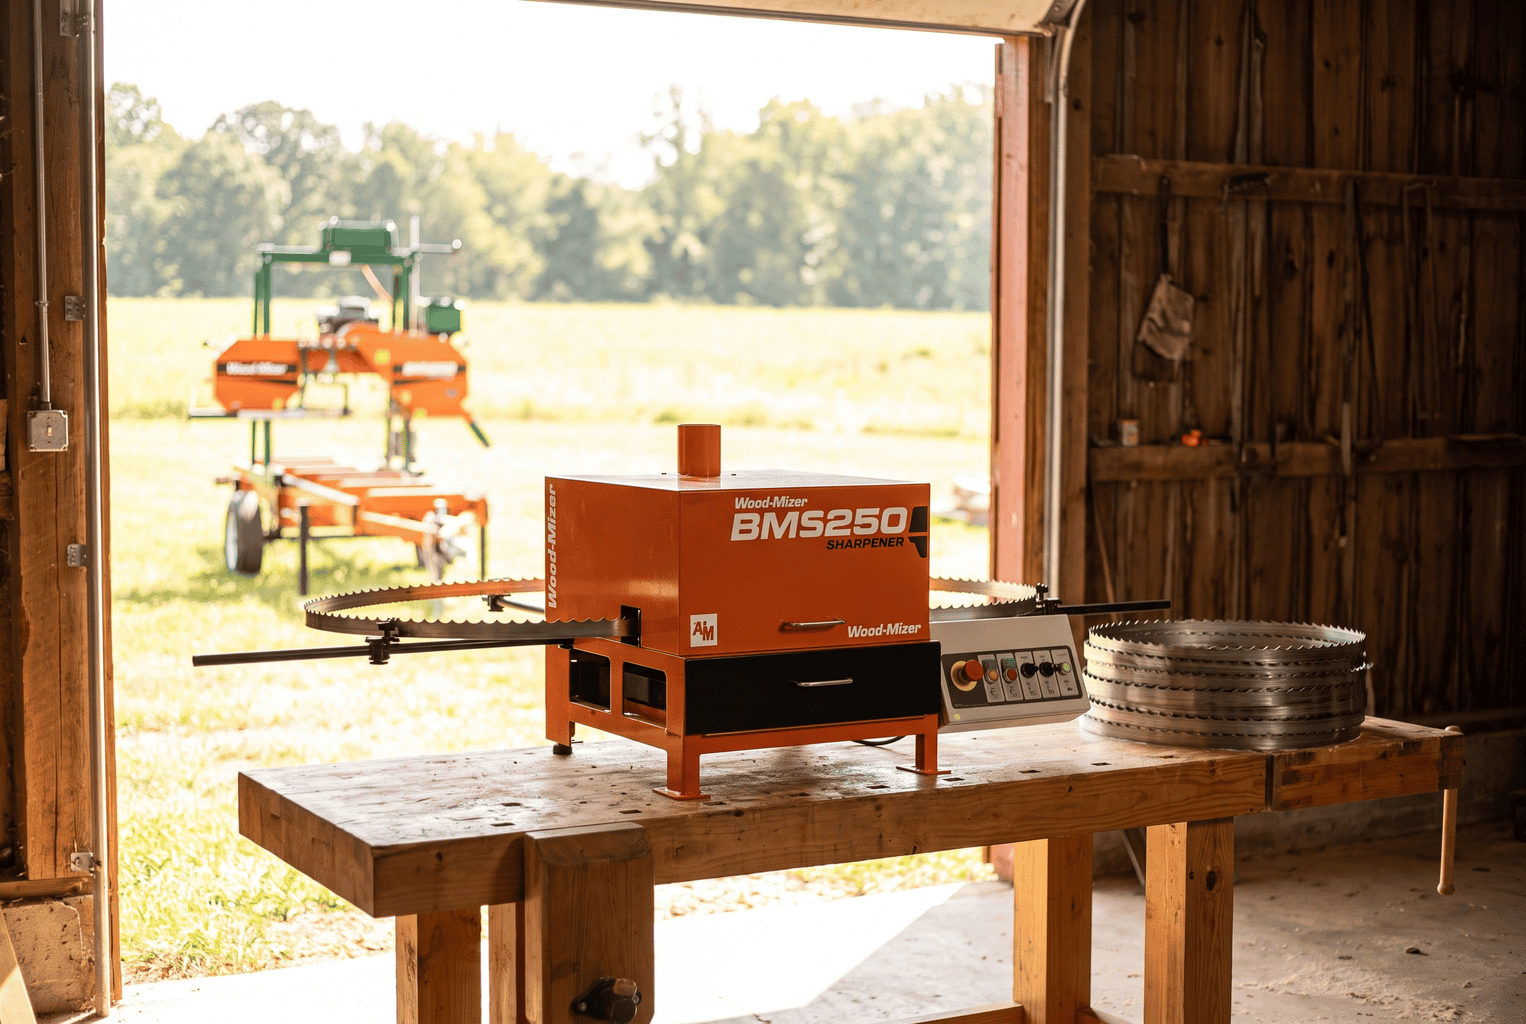
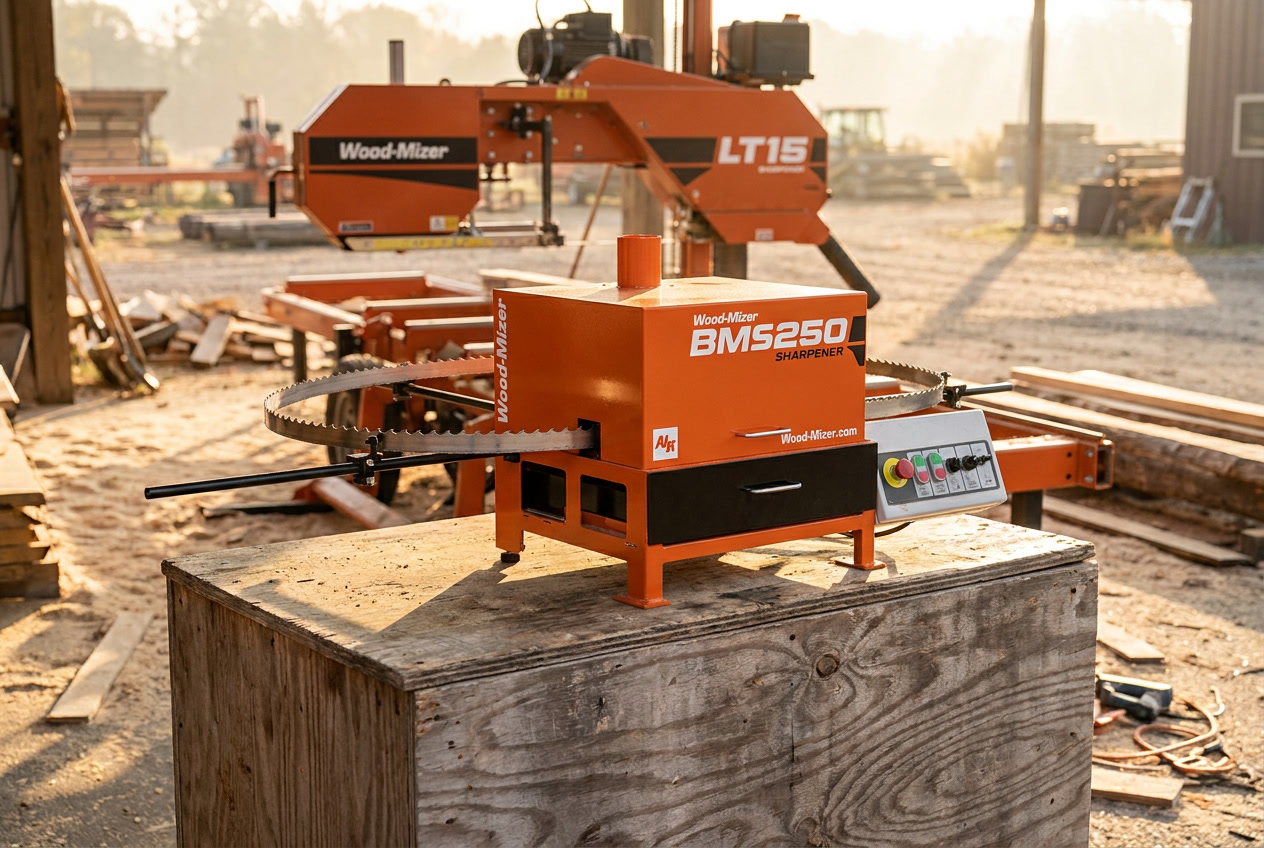
- Automatic sharpener: Set the blade specs once — blade length, width, tooth spacing, hook angle — and it advances tooth-to-tooth on its own, grinding the full profile — face, gullet, and back — instead of just the face. Some units run off a 12-volt battery, which matters if your setup is nowhere near an outlet. Wood-Mizer’s BMS250 — a 1/2HP automatic sharpener running 5-inch CBN grinding wheels, priced around $3,395 — is the one most mill owners run into first; if you’re cutting enough volume to justify the price, this is the upgrade that saves the most time and gives the most consistent result blade to blade. Because gear in this price range is a real investment, I’d check it out straight from the manufacturer rather than picking a random Amazon listing.
There’s a real jump in quality between grinding just the tooth face and treating the whole profile — face, gullet, and back. Hand-grinding tends to only hit the face because that’s what you can see and reach easily. An automatic machine gets into the gullet too, which is where a lot of the microscopic stress cracks that eventually kill a blade actually start. That’s not a reason to skip hand sharpening — it’s just something to know so you’re not surprised when a machine-sharpened blade outlasts a hand-sharpened one over the long run.
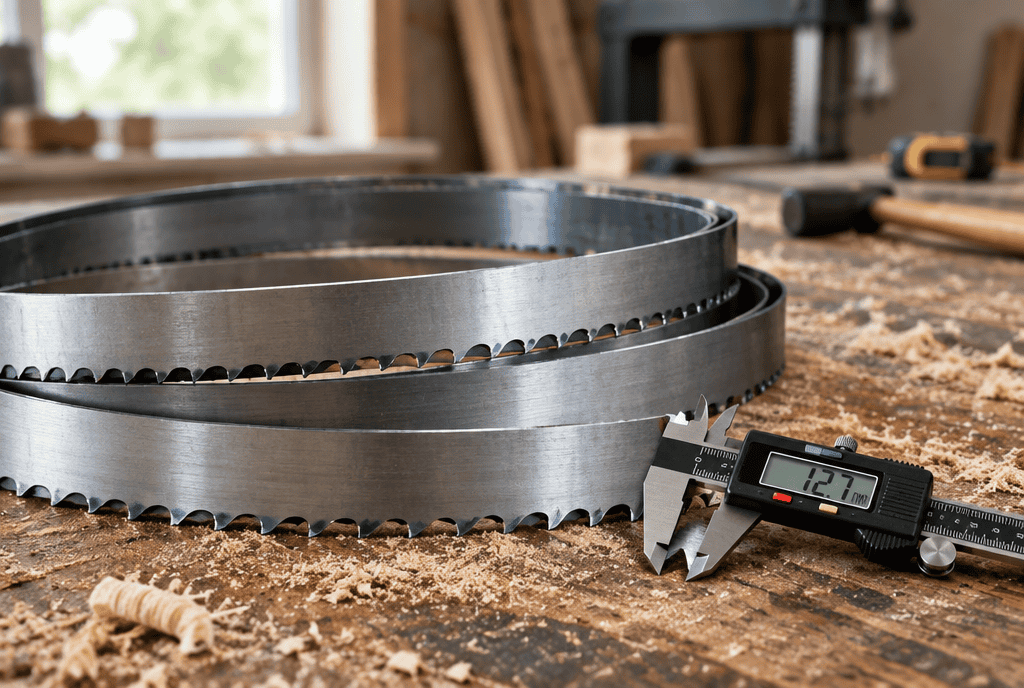
If you want to try the cheap route before you spend real money, this is close to the stone I started with on Amazon — a basic 3/16″ grinding stone set that fits any standard rotary tool. It’s a two-dollar part in the grand scheme of things, and it’ll get a dull blade back to cutting clean while you figure out whether you’re sharpening enough blades to justify better equipment.
A word on the equipment itself, whichever tier you land on: keep your grinding wheel or stone dressed and true. A glazed-over or out-of-round wheel will heat the tooth faster than it grinds it, and that’s the fastest way to draw the temper out of the steel before the blade’s even seen wood again. It takes thirty seconds with a dressing tool and it’s the difference between a grind that actually cuts and one that just looks sharp.
Step-by-Step: How to Sharpen a Bandsaw Mill Blade
- Clean the blade first. Run it for 10-15 seconds with lubrication flowing to knock off pitch and sap buildup. Grinding over gummed-up teeth just glazes the stone and gives you an uneven grind.
- Grind the face and gullet of each tooth at your target hook angle (see the table below), taking off only a few thousandths of an inch per pass — you’re touching up the edge, not reshaping the tooth. Two light passes beats one heavy one; heavy grinding builds heat that can draw the temper out of the steel.
- Deburr each tooth after grinding. A wire edge left behind will chip off in the first few cuts and dull the blade faster than if you’d left it alone.
- Let the blade rest for a few hours, up to a day, before you put it back to work. Grinding generates heat and stress in the steel, and giving it time to normalize cuts down on cracking.
- Set the teeth every second or third sharpening — not every time. Only the top third of the tooth needs to be set, alternating the bend left-right-straight down the band. Set decreases a little with every sharpening, so if you’re setting fresh, aim toward the higher end of your range.
- Reinstall and re-tension the blade to spec before you make your first test cut. Don’t skip a check pass on the wheels and guides while the blade’s off — it’s the easiest time to catch a tracking issue before it wears a freshly sharpened edge unevenly.
Run one test cut on a scrap piece before you put a freshly sharpened blade to real work. It costs you two minutes and it tells you whether you nailed the angle or need to touch it up before you’re committed to a log.
The first blade I ever sharpened cut worse than before I touched it — I ground way too aggressively trying to “fix” every tooth in one pass. Light, even passes across every tooth beats a heavy grind on a few of them. That one’s stuck with me.
Hook Angle and Set — Getting the Numbers Right
The hook angle is how aggressively the tooth bites into the wood. Too shallow and the blade rubs instead of cutting; too steep and it can choke the gullet with chips or feel grabby and unstable.
| Wood Type | Recommended Hook Angle |
|---|---|
| Frozen timber or dense hardwoods | 7° |
| General-purpose sawing | 10° |
| Softwoods | 14° |
Set — the slight left-right bend in the teeth that creates the kerf — usually runs 22 to 35 thousandths of an inch. Cold or frozen wood wants more set for better sawdust clearance; warm weather with a mill that has plenty of horsepower can run tighter and get a cleaner surface. Special applications can push as high as 35 thousandths, but that asks more of your mill’s horsepower, so don’t run it that high unless you have a reason to.
Set decreases a little with every sharpening cycle, which is why I set a blade slightly higher than I need the first time and let it work its way down over the next couple of sharpenings before resetting again. It also means the gullet depth matters more than most people think — a shallow, worn-out gullet can’t clear sawdust fast enough, and packed sawdust in the kerf is one of the sneakier causes of a wavy or rough cut that has nothing to do with the tooth edge itself. For a full breakdown of blade maintenance, tension, and tracking beyond just sharpening, see our Bandsaw Mill Blade Guide: Maintenance, Sharpening, and Replacement.
How Many Times Can You Resharpen a Blade Before It’s Done?
Expect somewhere around 5 to 8 resharpenings out of a healthy blade before it’s not worth touching up anymore. What ends it is usually a crack starting at the base of a gullet — once you see one, that blade is done, full stop, no matter how sharp the rest of it looks. Keep an eye on it every time you clean the blade, not just when you sharpen it.
I keep a marker or a strip of tape on the blade box and put a tally mark on it every time a blade goes through the sharpener. It sounds simple because it is, but it’s saved me from running a blade past the point where it should’ve been retired more than once — especially with several blades in rotation, it’s easy to lose track of which one’s on its second sharpening and which one’s on its seventh. We walk through the whole operator routine, sharpening included, in The Bandsaw Mill Operator’s Handbook: From Setup to Final Cut.
From experience: A proper sharpener can give you up to 50% more useful blade life. It’s not that the machine makes the steel stronger, it just takes the same few thousandths off every tooth. With a Dremel, even with a good hand, you take a little too much here and a little less there, and over several sharpenings you burn through more blade than you need to.
Frequently Asked Questions
How often should I sharpen my bandsaw mill blade?
Every 2 to 4 hours of actual cutting time is the standard guideline. Cutting dense hardwood or hitting the occasional bit of dirt or metal will shorten that; clean softwood can stretch it a little.
Can I sharpen a bandsaw mill blade by hand?
Yes. A rotary tool with the right grinding stone works fine for hand sharpening, and it’s how a lot of small operators start out. It’s slower and takes more practice to get consistent than a dedicated sharpener, but it works.
What angle do you sharpen a sawmill blade at?
10° is the standard general-purpose hook angle. Drop to 7° for frozen or dense hardwood, and go up to 14° for softwoods.
How much does it cost to send a sawmill blade out for sharpening?
Figure roughly $6 to $8 per blade for a professional sharpening service, not counting shipping time in both directions.
How do I know when a blade is worn out instead of just dull?
A dull blade sharpens back to sharp. A worn-out blade shows a crack, usually starting at a gullet, or it’s already been resharpened 5-8 times and won’t hold an edge like it used to. Cracks mean retire the blade — don’t keep pushing it.
Bottom Line
Keep it simple: clean the blade, grind the face and gullet at the right angle in light passes, deburr it, let it rest, and set the teeth every couple of sharpenings. Do that on a schedule — every 2 to 4 hours of cutting — and you’ll get 5 to 8 resharpenings out of every blade before it’s time to retire it. Whether you hand-grind with a rotary tool or step up to an automatic sharpener down the road, the fundamentals don’t change. Start cheap, learn the process, and upgrade your equipment once you know it’s worth it for how much you’re actually sawing.
Jason Lewis has ten-plus years running a Wood-Mizer LT15 on upper-Midwest hardwoods and hand-ground his first blades with a Dremel.